Valentine’s Garland Re-visited
Here’s how I made the garland for Valentine’s Day. I tend to be intimidated even by small craft projects like this and it really felt like I was dipping my toes into it here. Luckily, the water wasn’t as cold as I thought it would be and the process was actually pretty painless and fun!
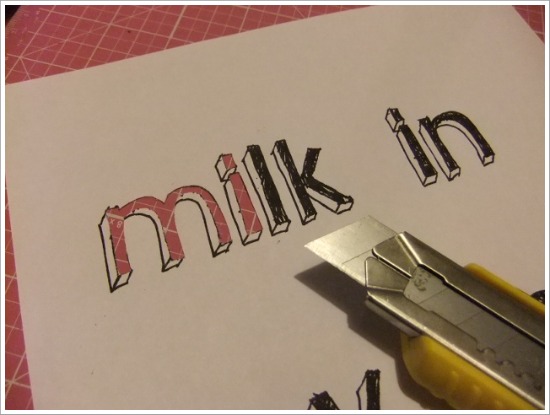
I picked a font called Green Piloww from Dafont.com and typed out the words I wanted to use and adjusted the size to where it looked good to me. Then I cut out the letters with a craft knife.
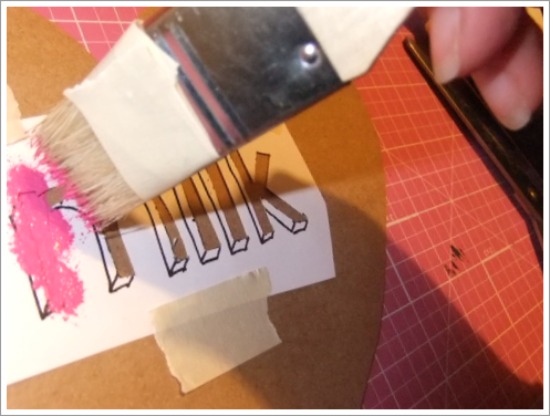
When all the letters were cut out, I taped the piece of paper to the kraft paper hearts that I had cut out the day before (I made a template with a piece of paper and traced it six times for the six words). I used really low-tack tape that I knew would be easy to remove after.
I also put a bit of tape around a paint brush to keep the bristles from spreading out. I applied the paint to the inside of the letters, sort of tapping it on. The main thing to keep in mind is to move away from the edges of the letters toward the middle, to keep the paint from bleeding at the edges.
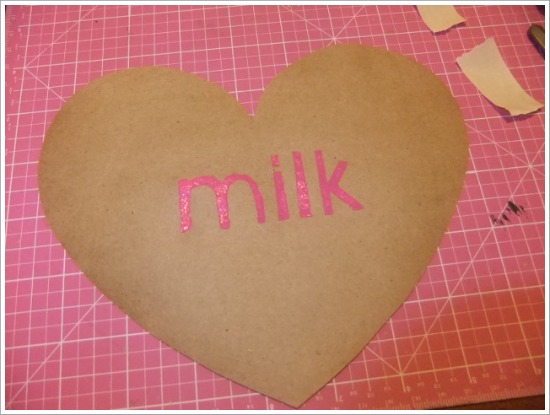
Since it was the first time I did this, I breathed a sigh of relief when I peeled off the stencil and saw that it had worked!
And here it is hanging up:
And another look at the whole thing. I wasn’t able to photograph it all in one piece, but it does look a bit better in daylight than at night!
I am pretty sure I’ll do more stencilling now that I know how easy it is!
XO Jadyn


Love it!! So cute!! Can you make like a hundred for my wedding?? ….. Just kidding!! Moewah!!